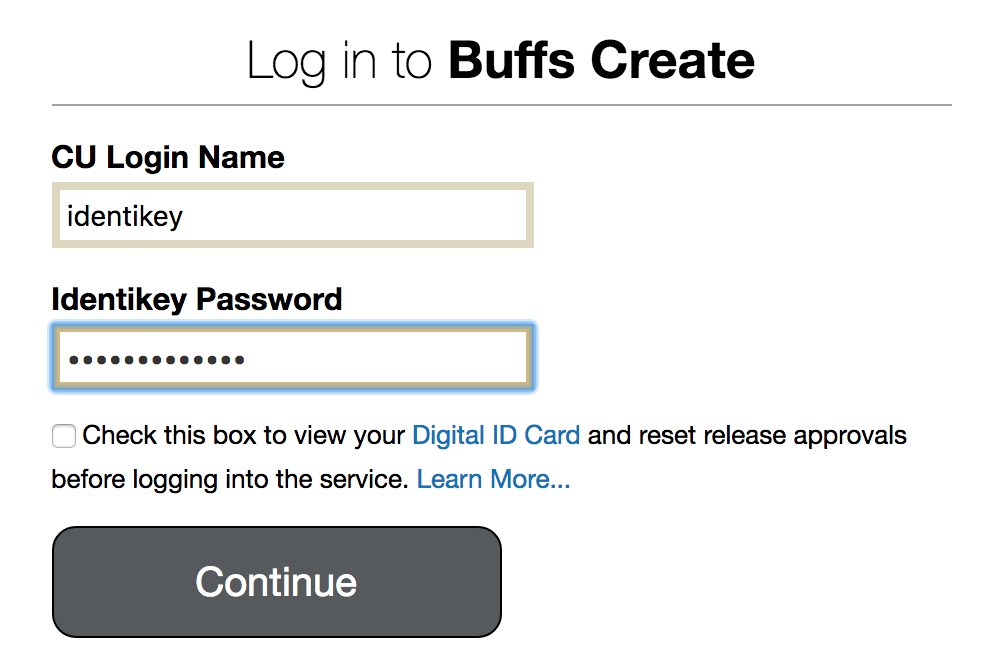
- To get started you’ll need to login to your control panel (https://buffscreate.net/dashboard/) using your BuffsCreate username and password.
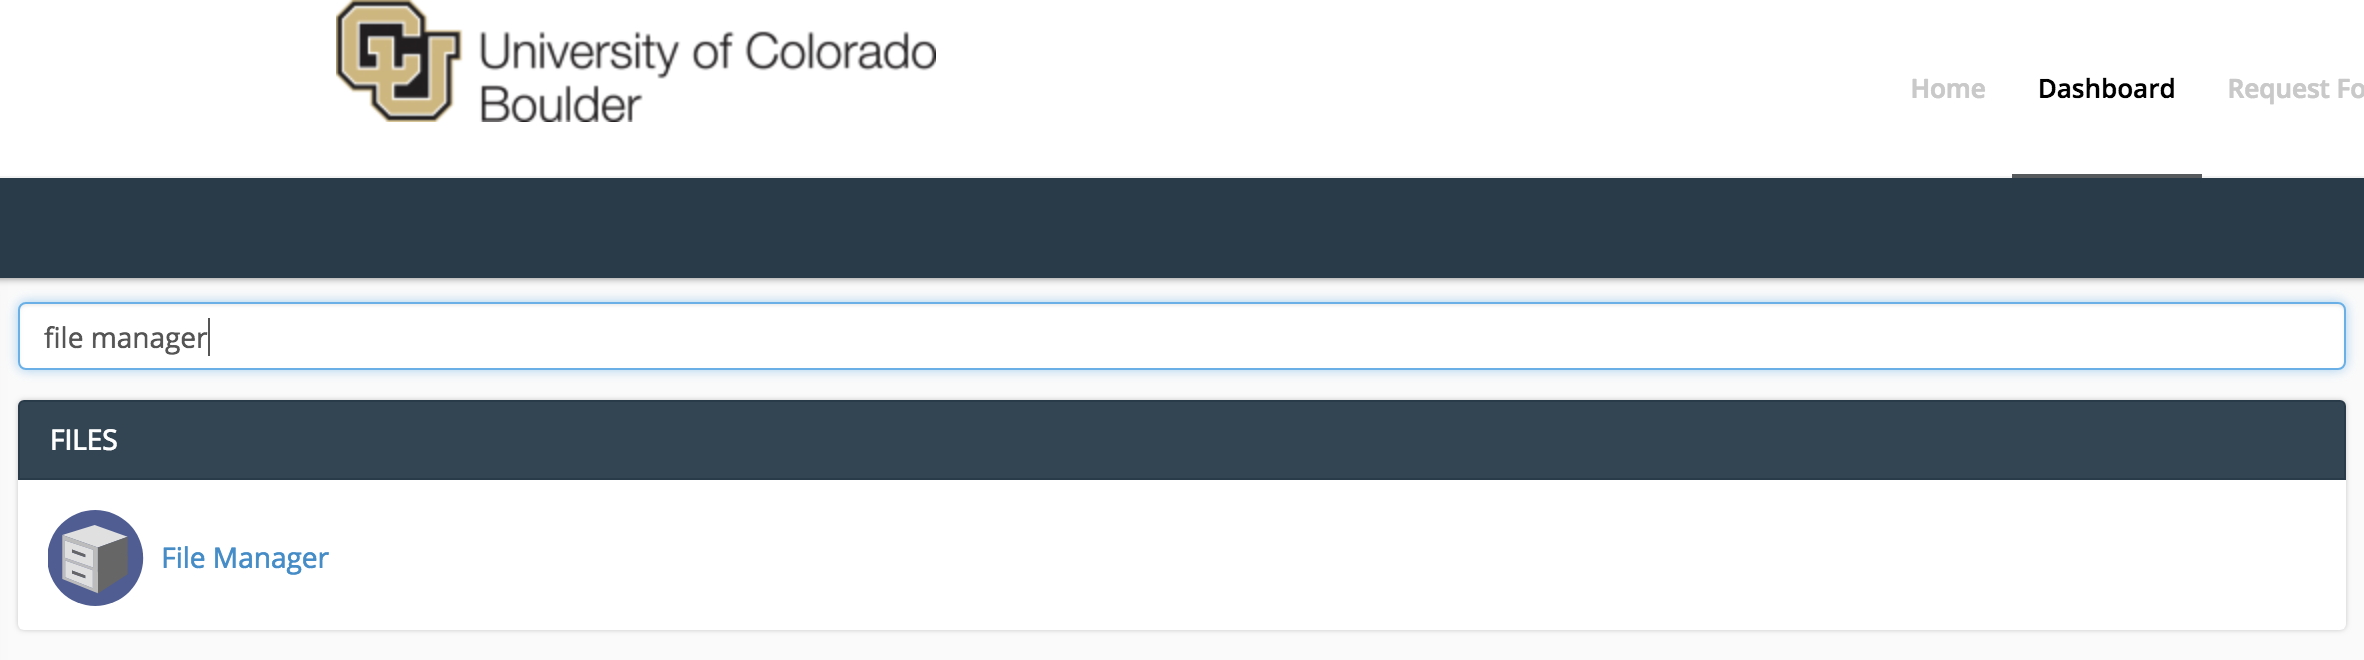
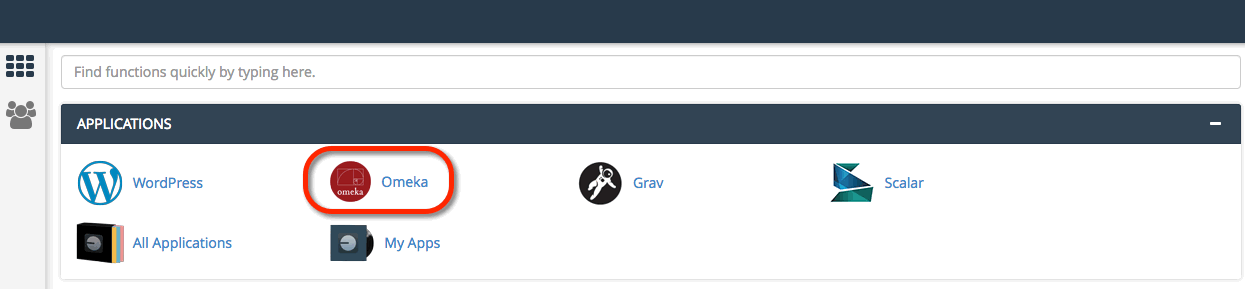
- Navigate to the Application section and select Scalar. You can also use the search function as well.

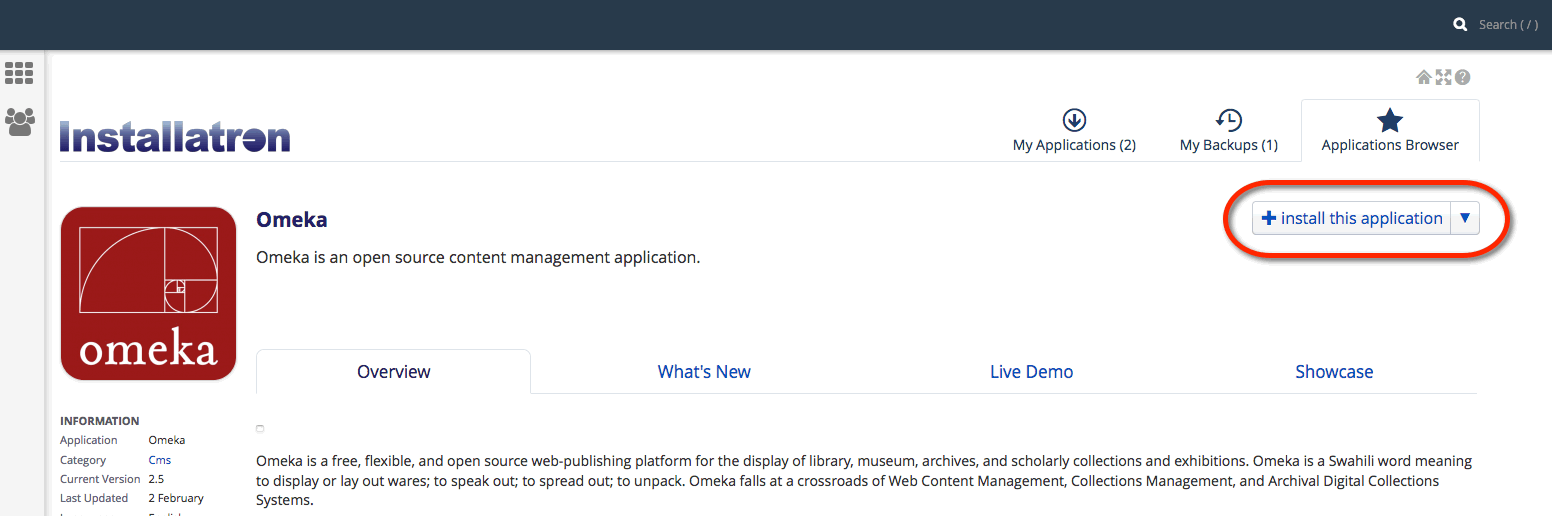
- When you click on the Scalar icon, you will be taken to the Scalar information page. Click install this application.

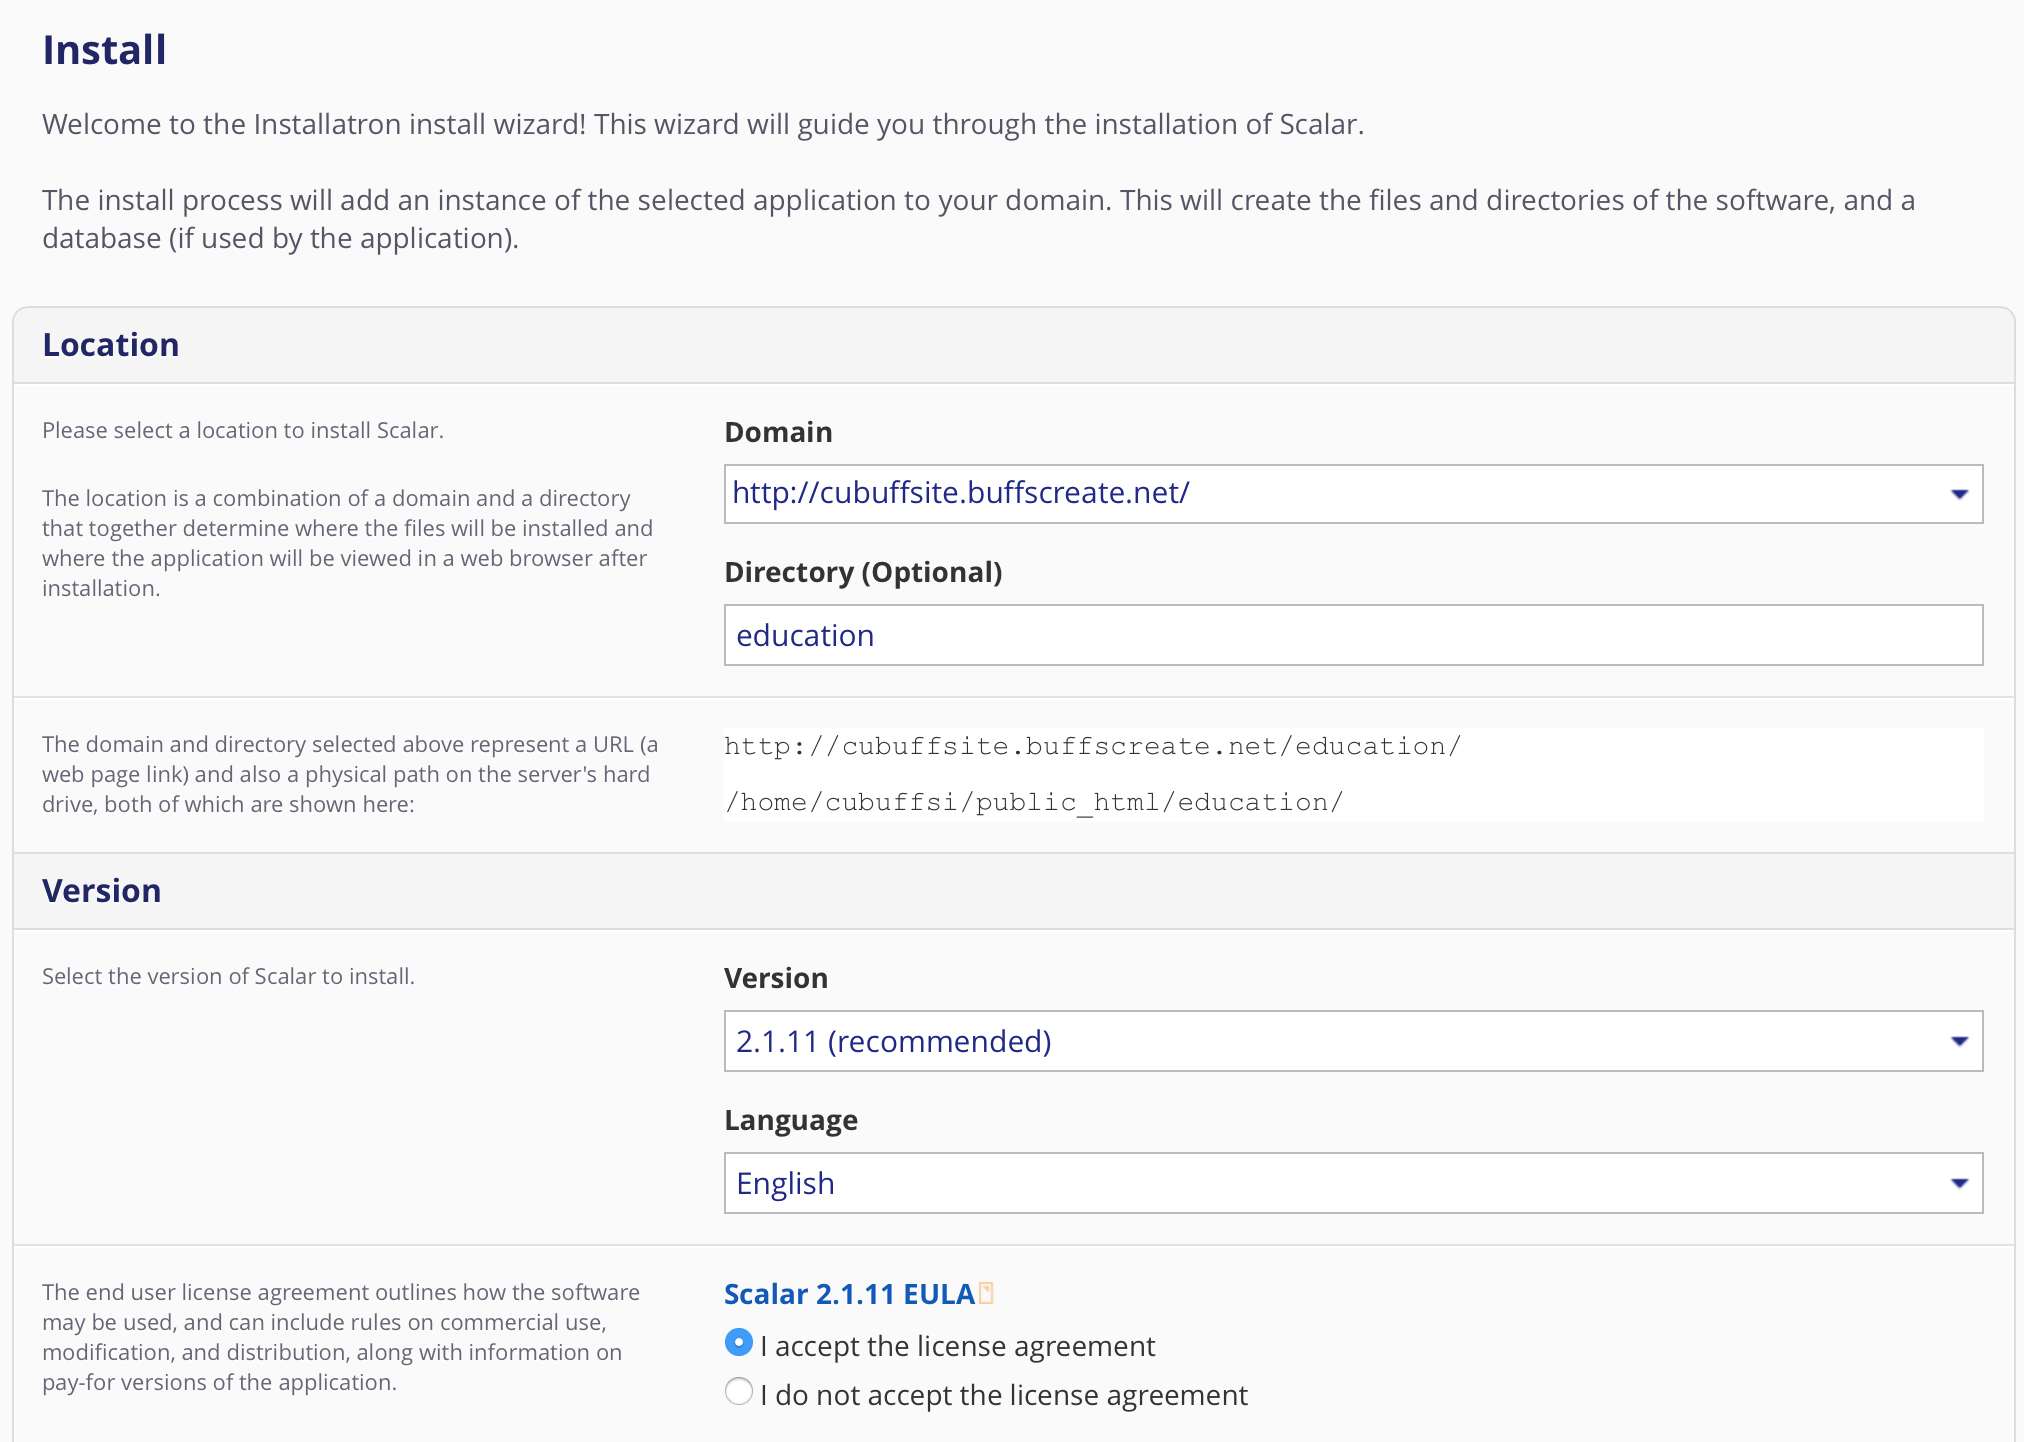
- On the next page, fill in the different fields accordingly:
-Select the domain or sub-domain where you’d like your Scalar site to live. You can create a sub-domain by following directions in the section Setting up Subdomain. The directory is optional. If you are using a sub-domain, you may not need to use a sub-directory. You can learn more by reading Subdomains vs Subdirectories.
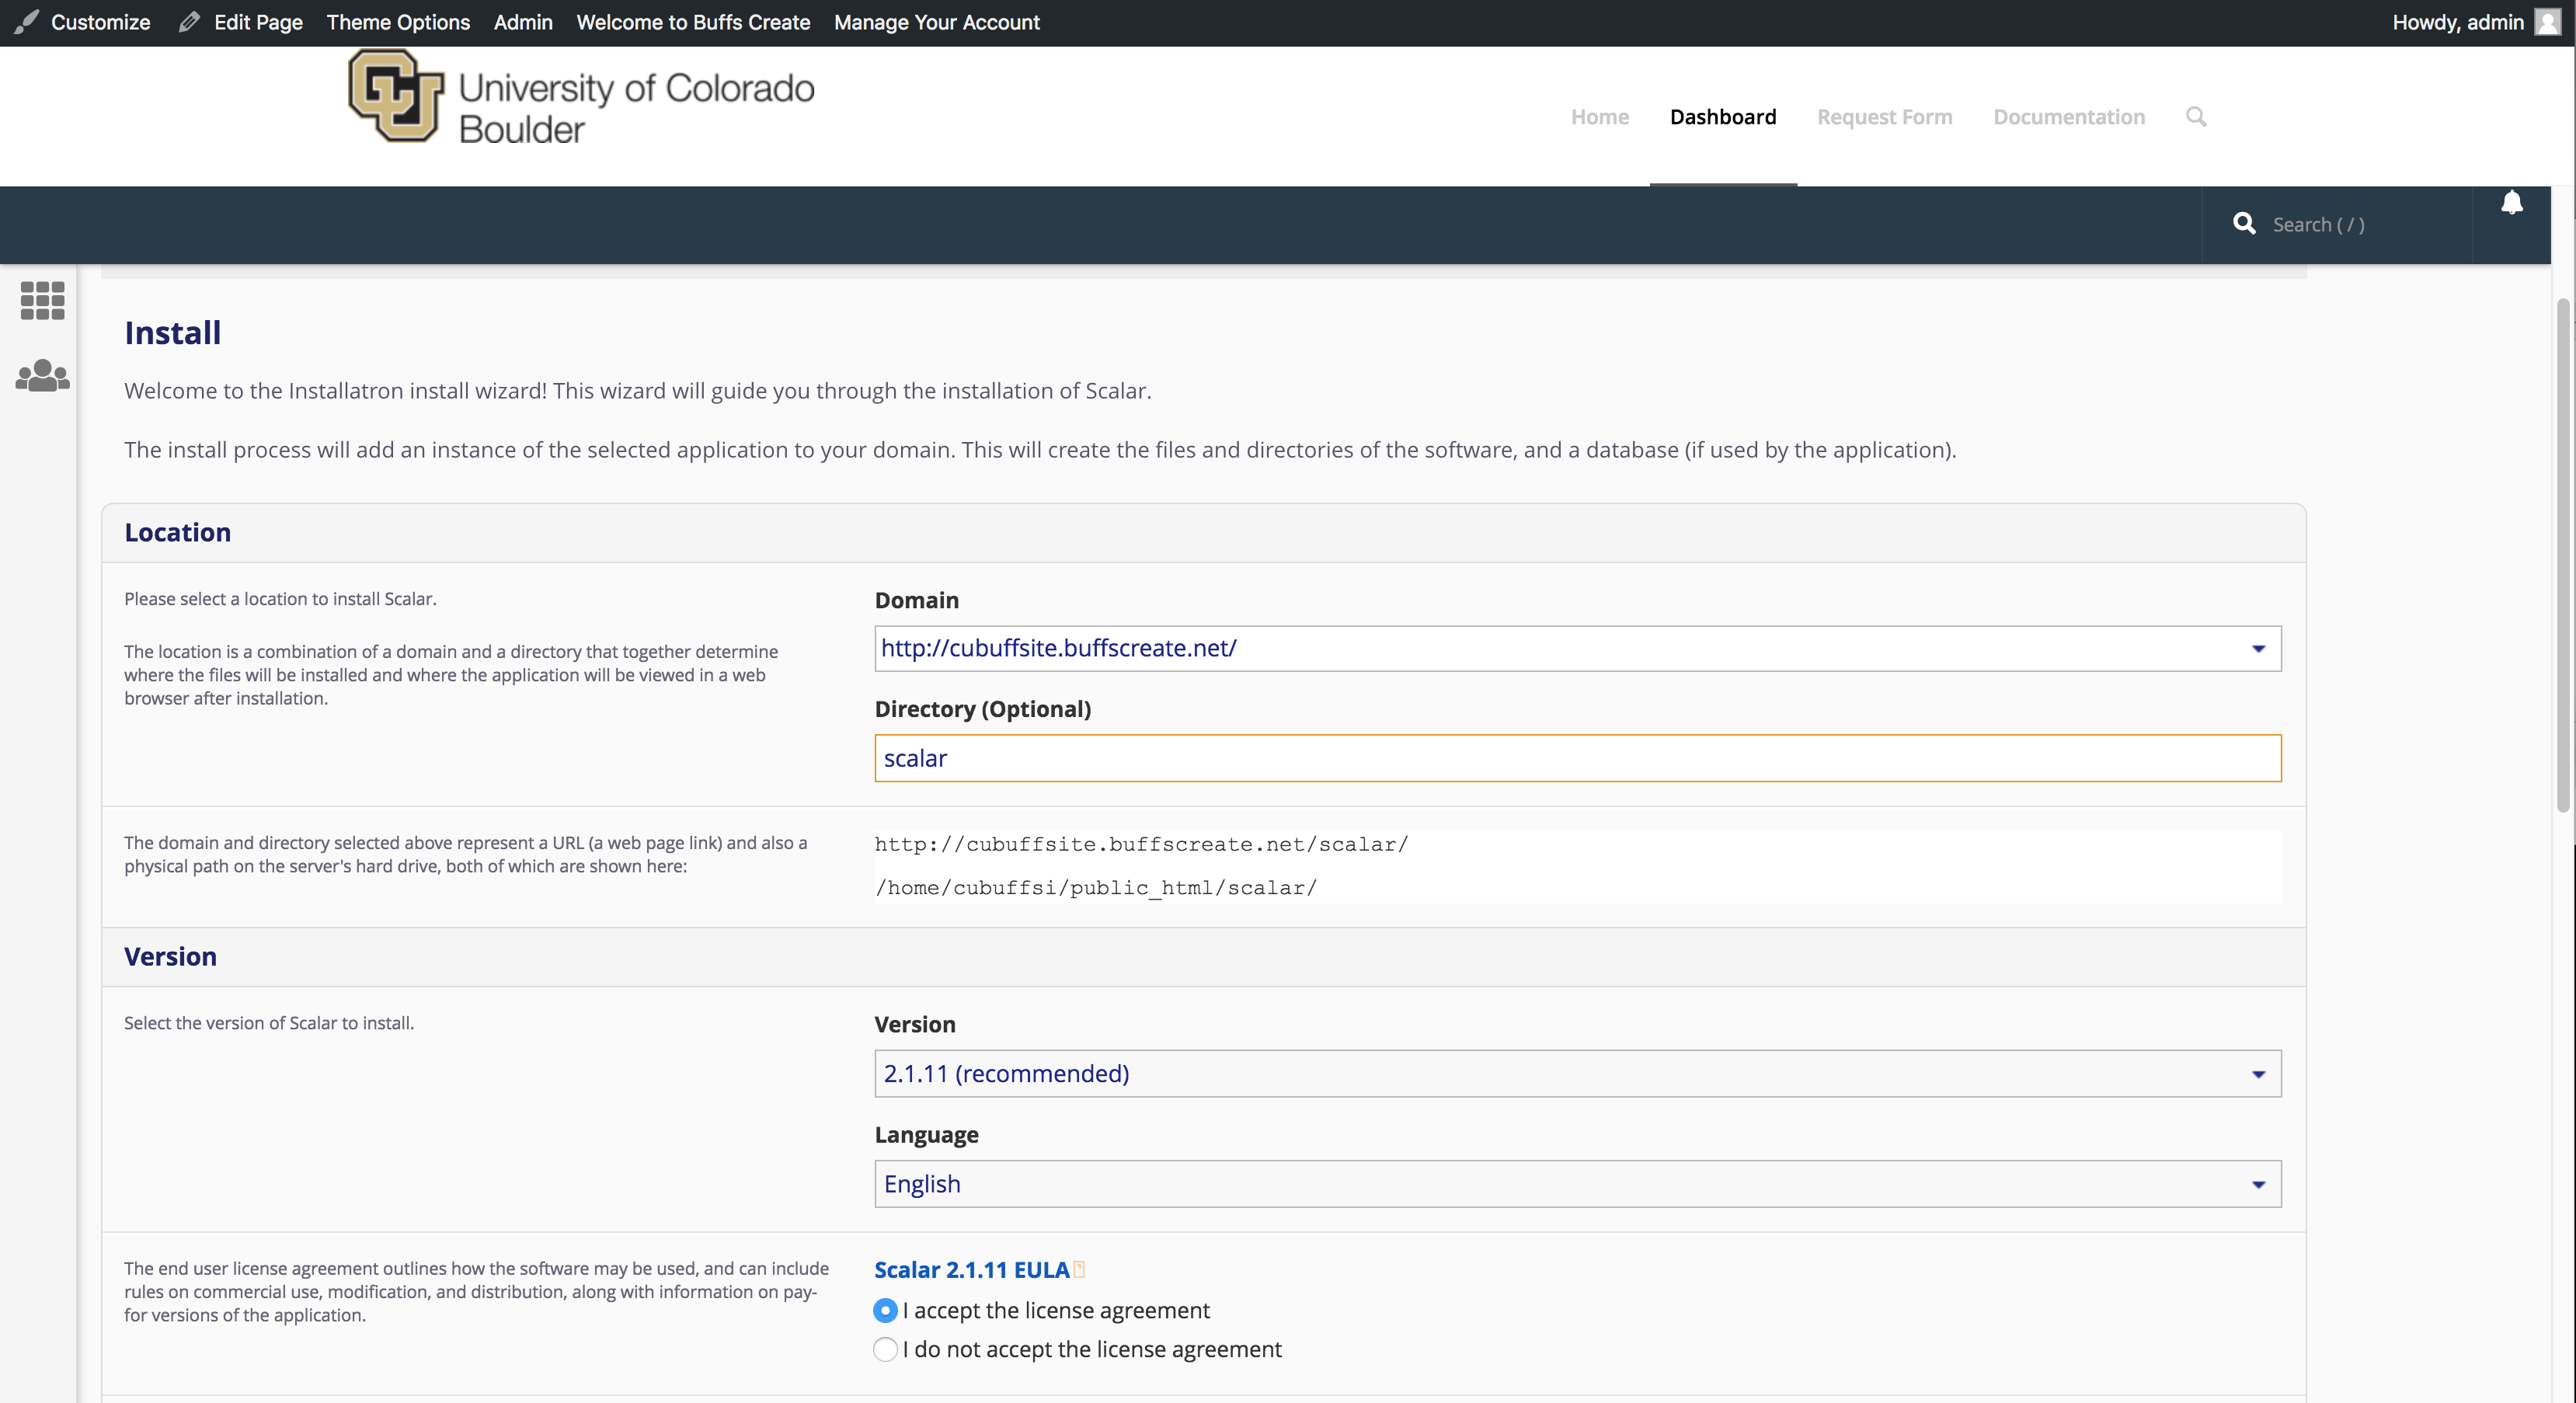
-Under version, select the version that is most recent.
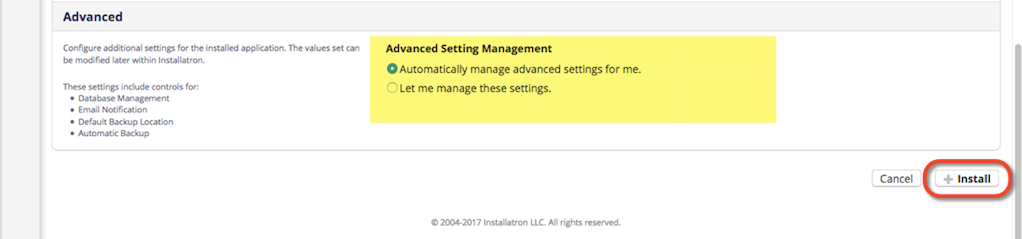
-By default the installer will automatically backup your website and update it anytime a new version comes out. While we recommend you keep this option, it is possible to only do minor updates, or turn them off completely.
-The installer will also create a database for you automatically, but if you’ve already created one for this website you can choose Let me manage the database settings and enter the details.
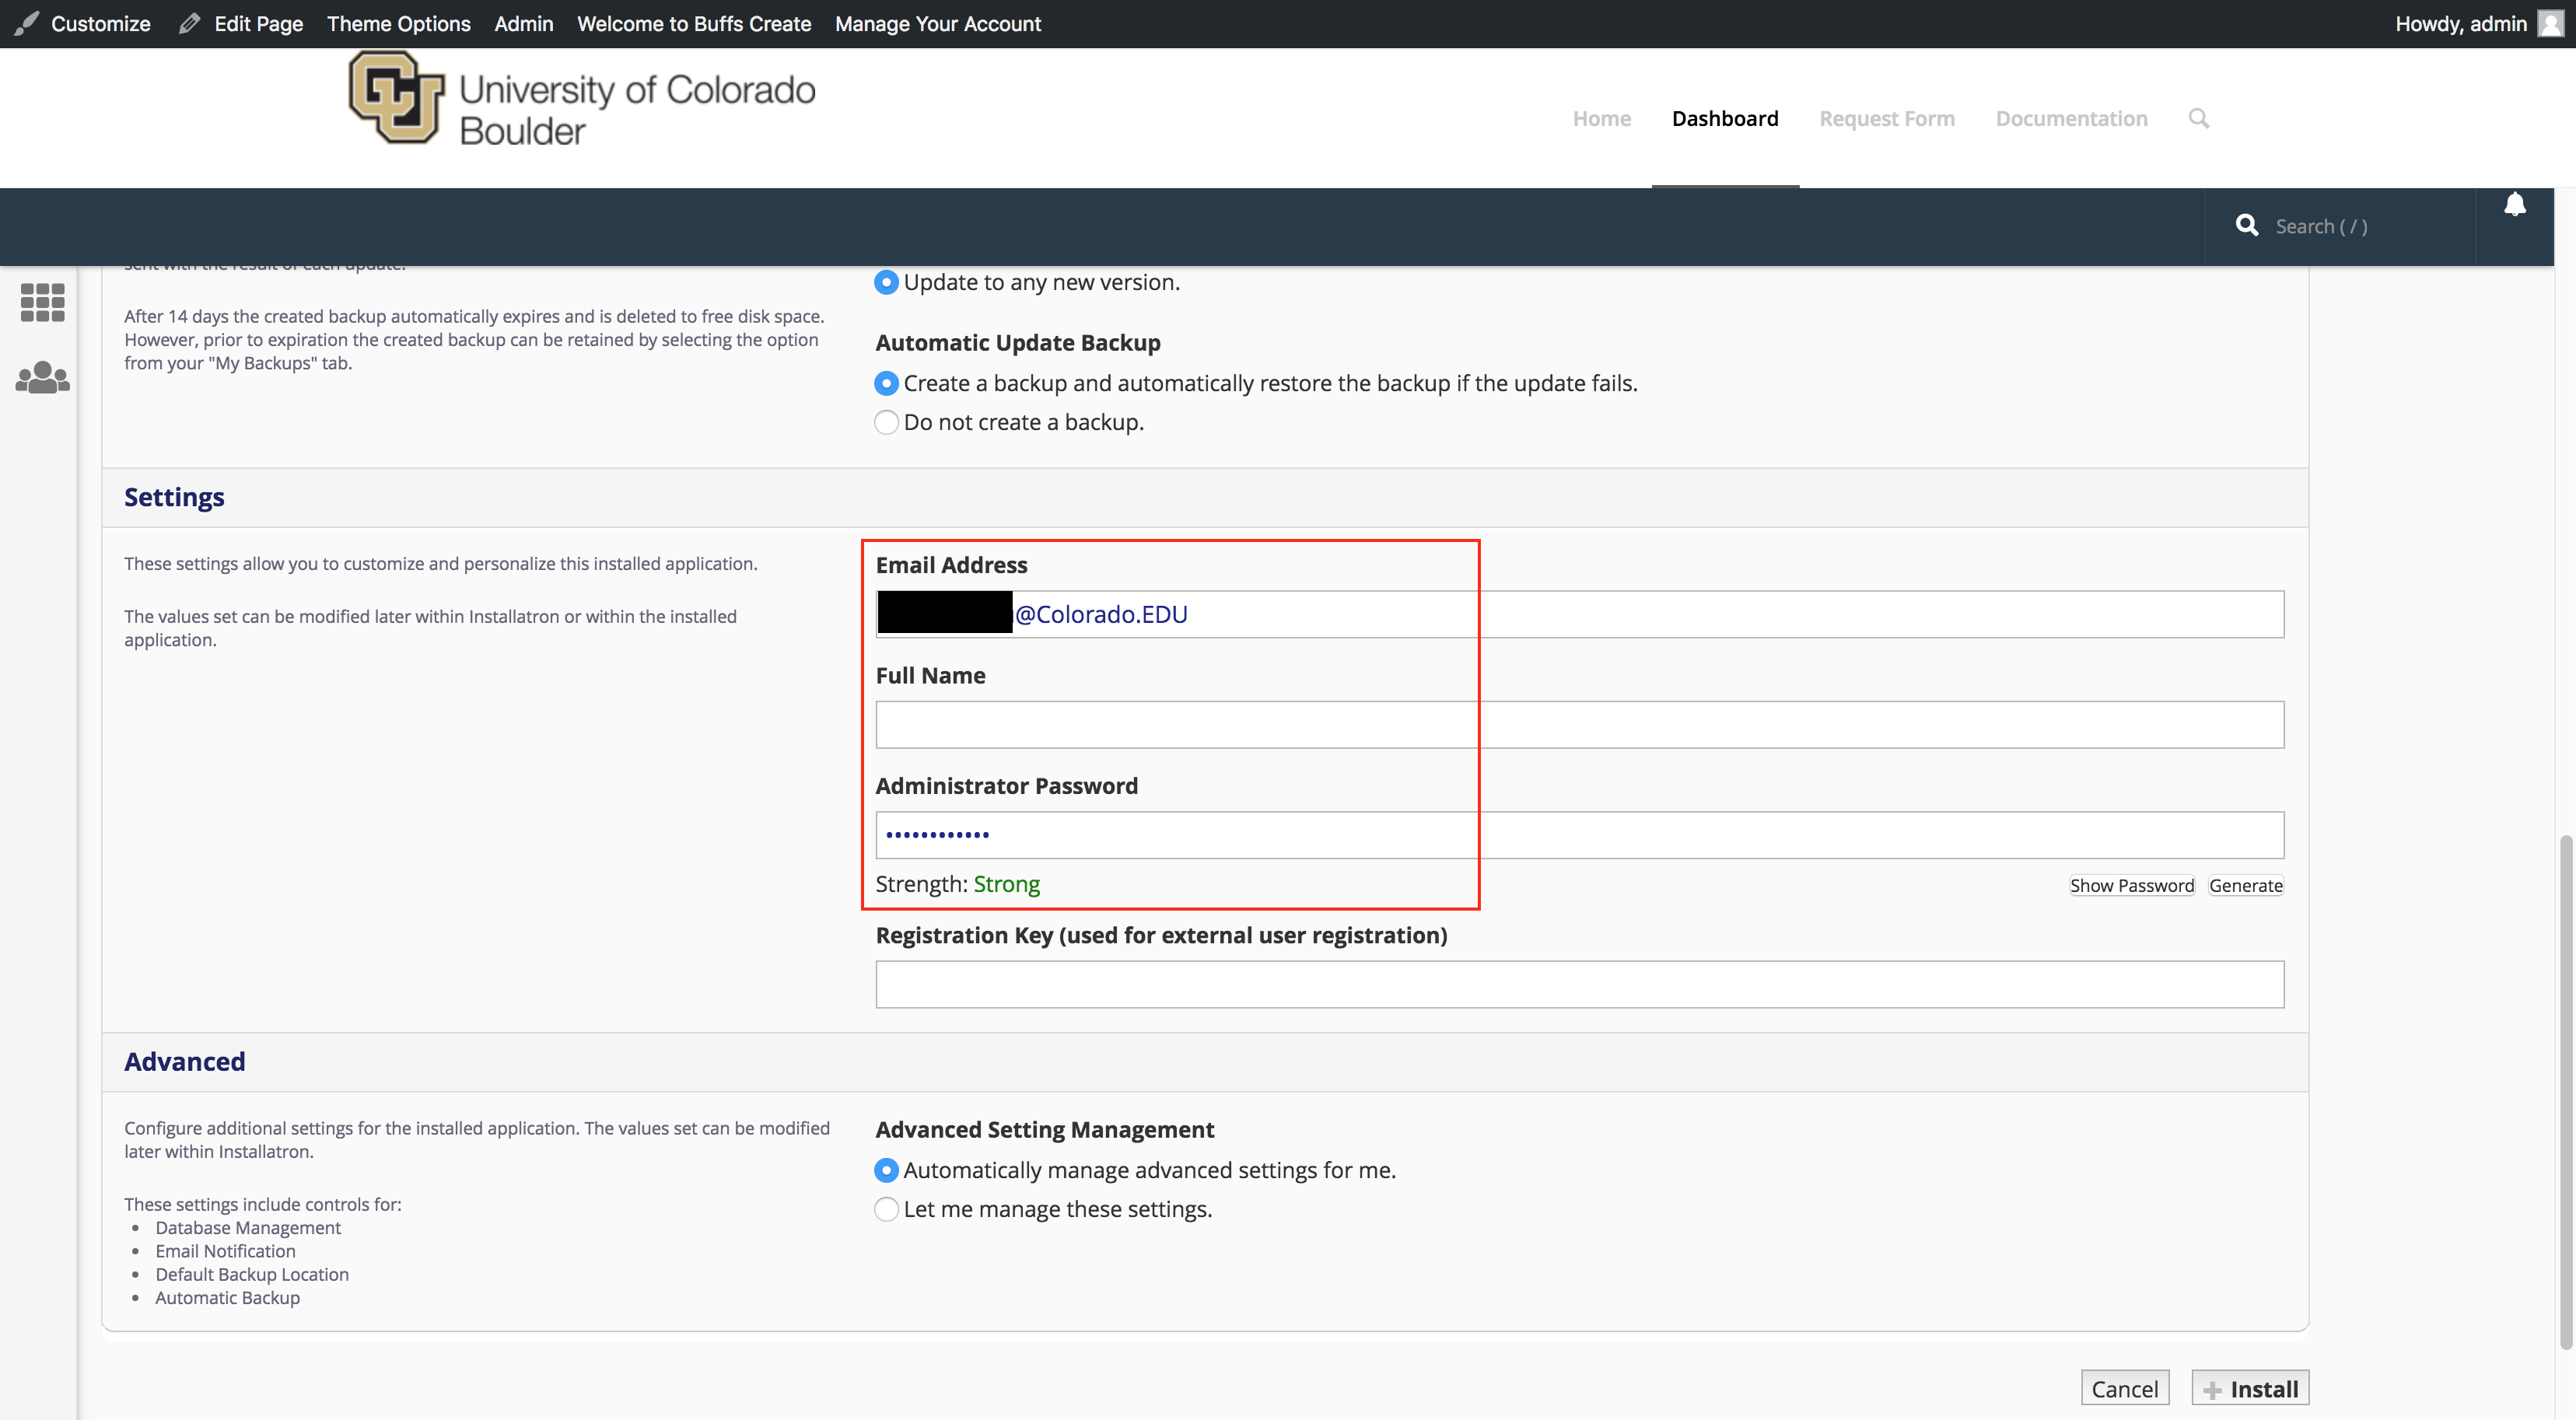
-Finally, in Settings, you’ll need to create a username and password for the Scalar install. A password can be generated for you, but you should try to create your own. - Click Install.
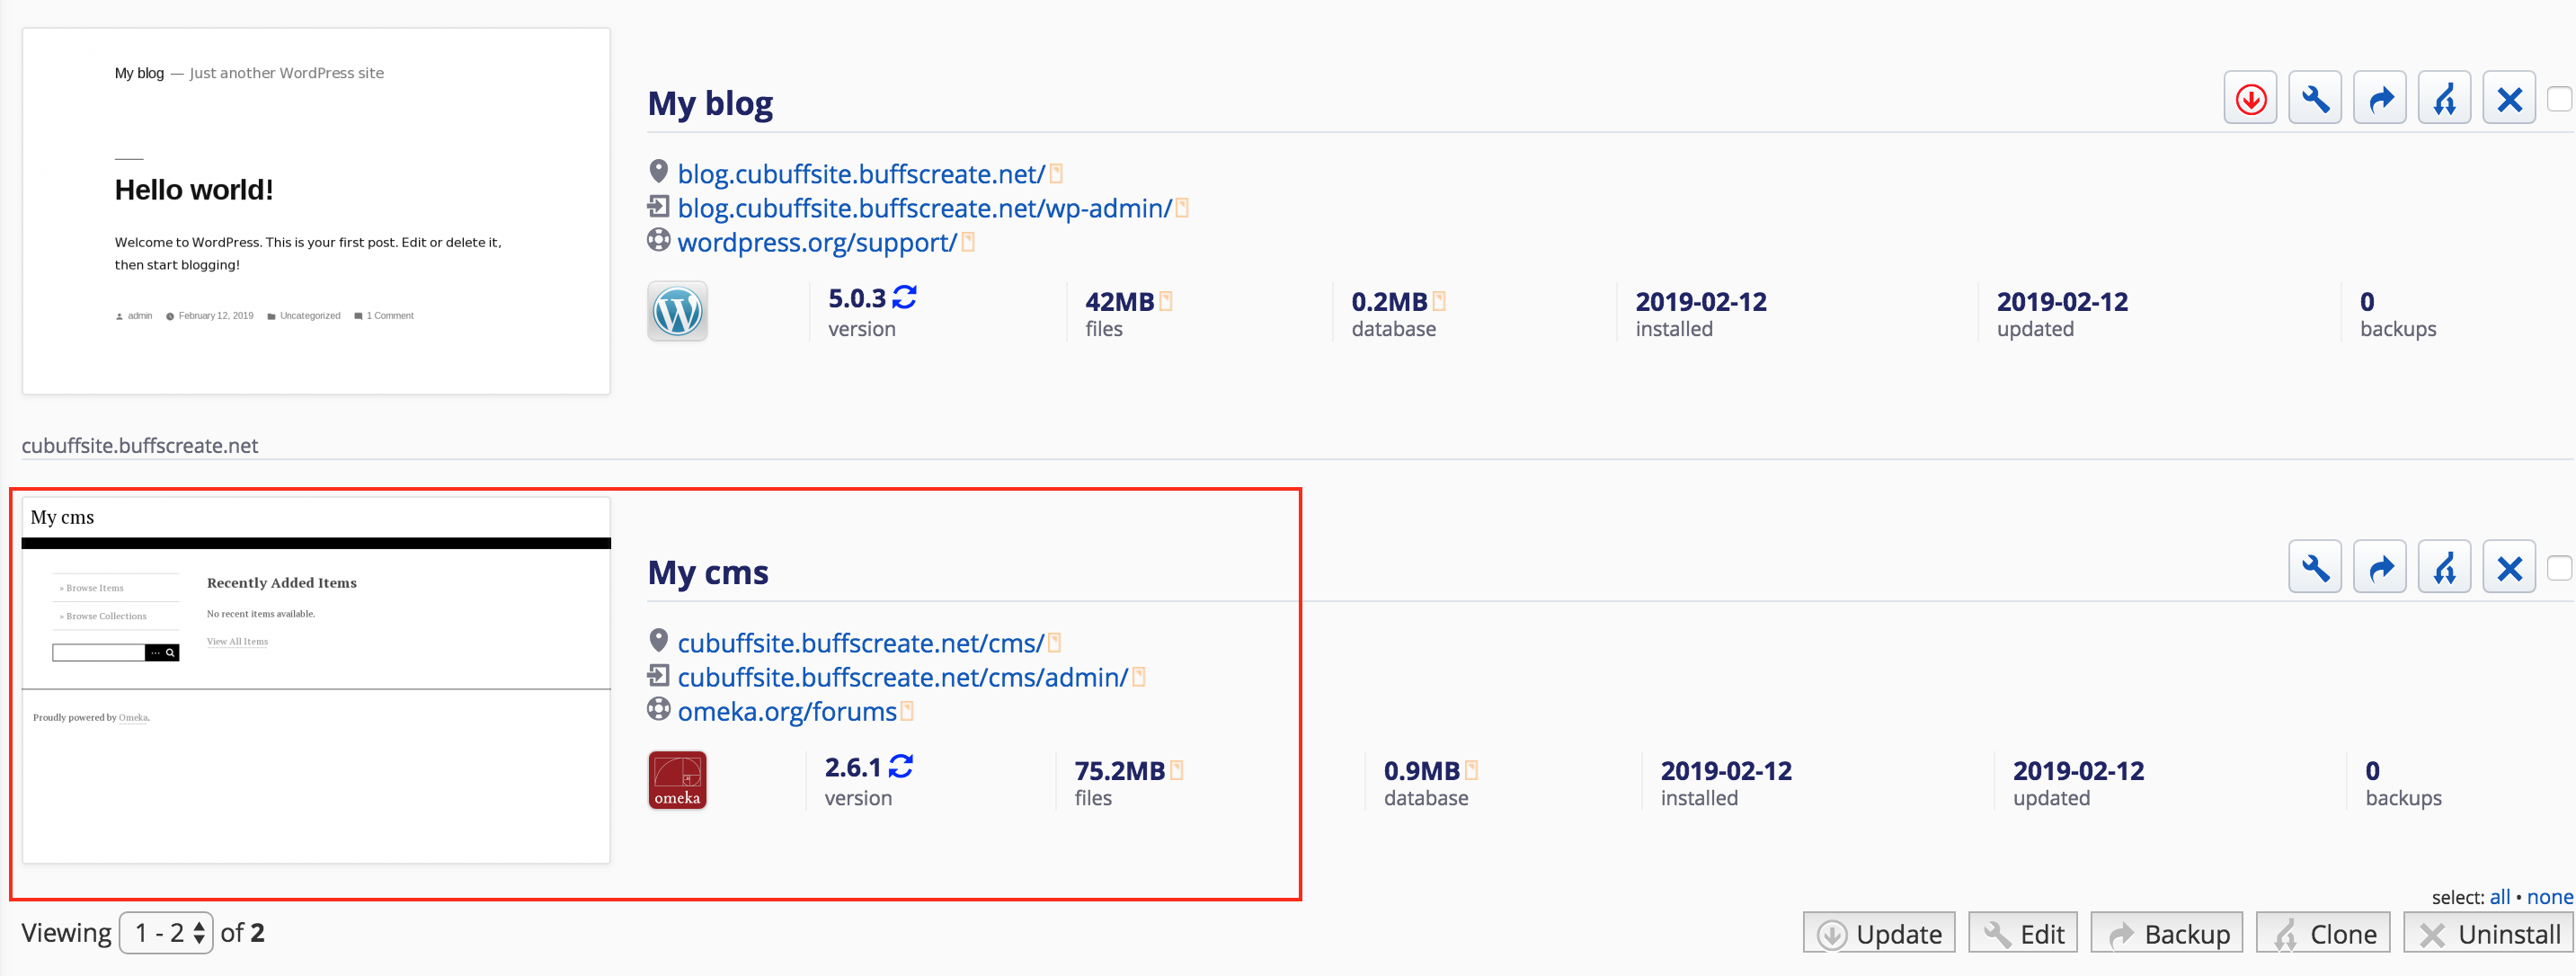
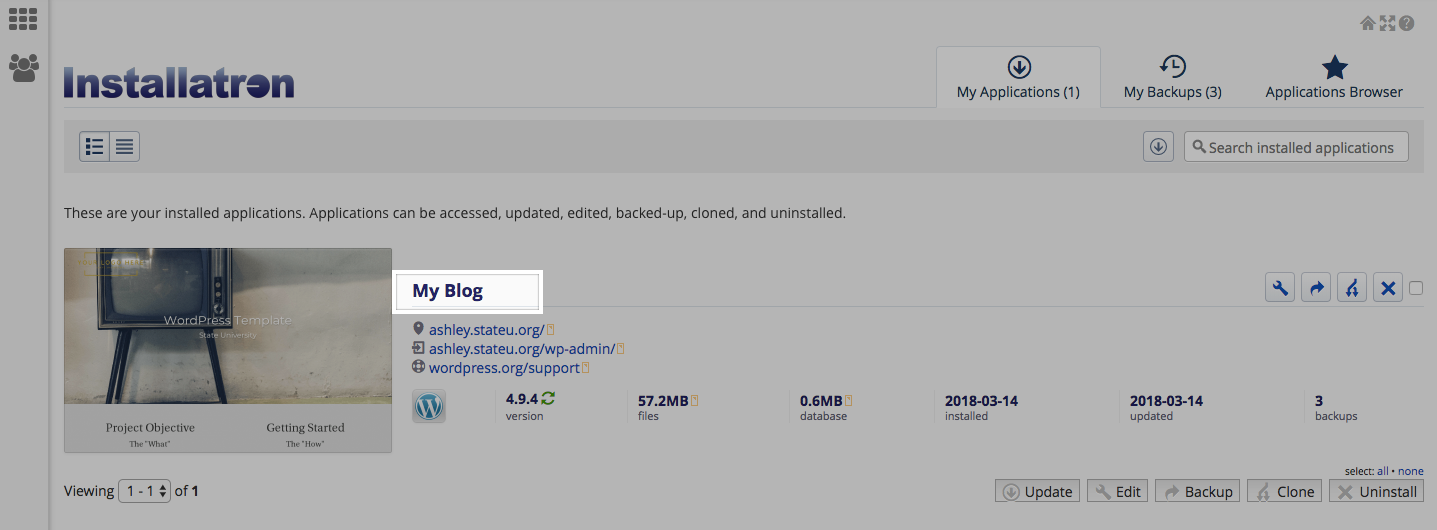
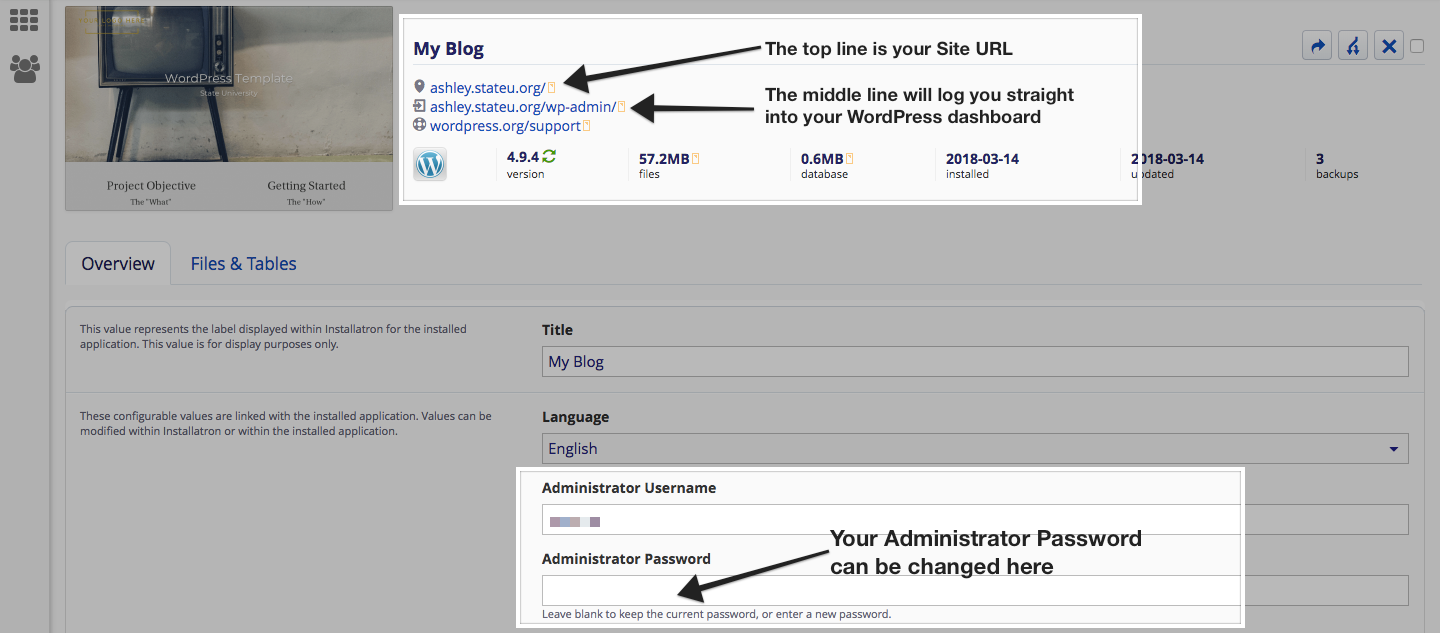
- Once the installer is finished loading, you will be taken to the My Apps section of the dashboard. Here you’ll find links to login to your scalar installation.

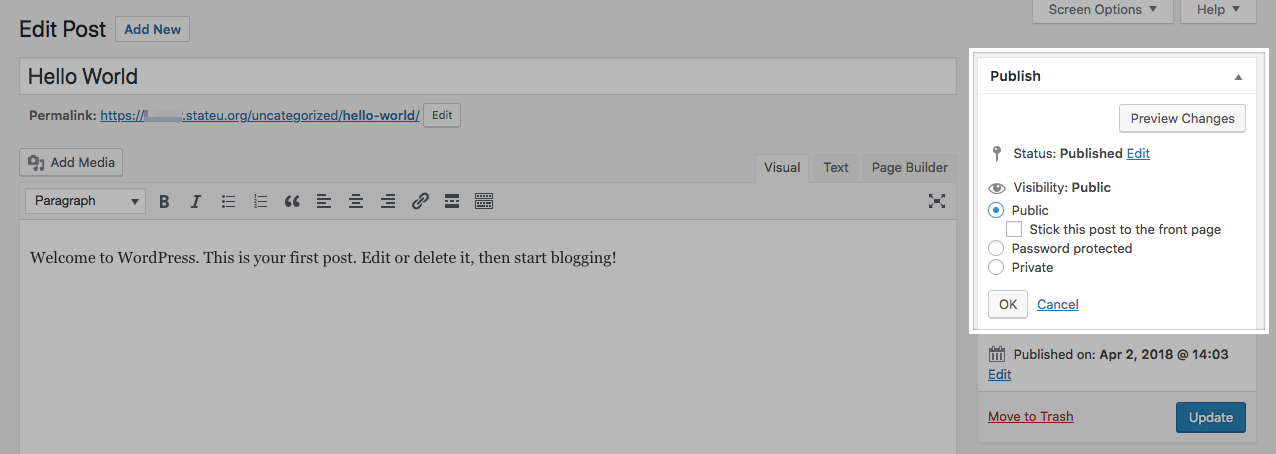
Log into your new Scalar instance with the credentials you set during the install process.